Designing a website that successfully reaches its goals requires careful planning, communication, and a skilled team. Having a consistent web design process gives you structure and direction to effectively solve problems and meet objectives.
In this guide, we’ll walk through the ultimate web design process in 10 steps. We’ll cover how to go from initial project definition to post-launch maintenance.
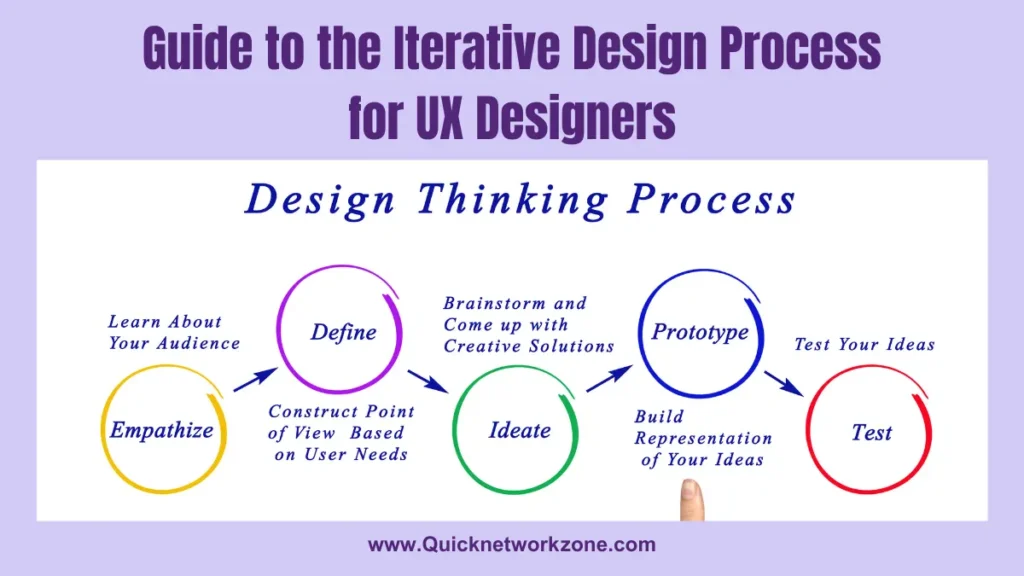
Whether you prefer a linear or iterative approach, following core phases in the design process helps focus your efforts. You’ll learn how to:
- Gather requirements and scope projects
- Plan UX and develop prototypes
- Test and refine designs
- Launch and maintain websites
Let’s dive in and explore the key steps to streamline your next web project!
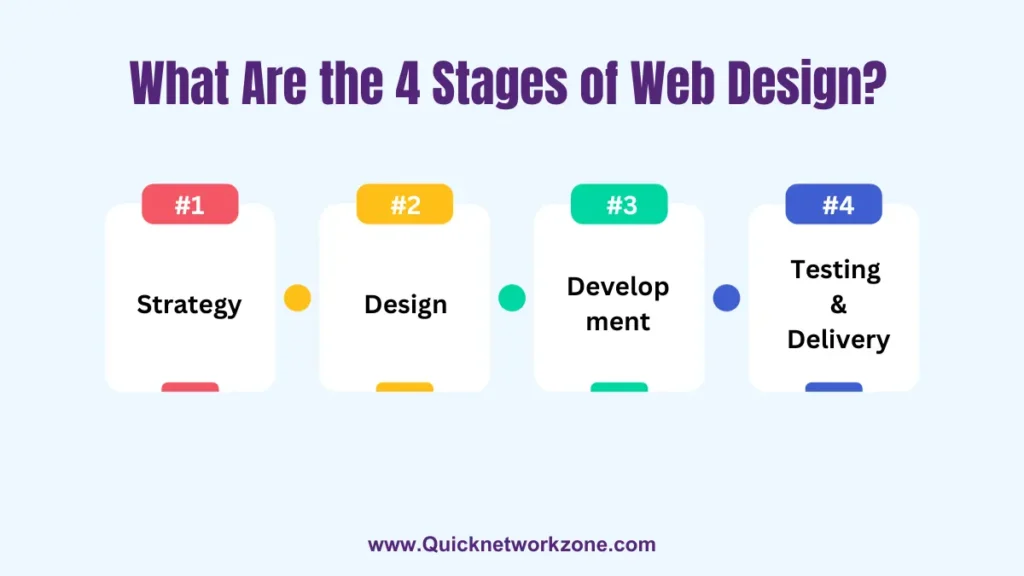
The web design process typically involves 10 key steps:
- Project definition – Determine goals, target audience, competitive analysis
- Scope definition – Set deliverables, timeline, budget
- Content creation – Structure pages, create placeholders
- Planning – Requirements, project plan, content hierarchy
- Wireframing and architecture – Sketches, user flows, information architecture
- Visual design – Branding, style guide, prototypes
- Development – Coding and collaboration
- Testing – Fix bugs, optimize performance
- Launch – Go live after testing completed
- Post-launch – Updates, fixes, maintenance
Following a structured design process allows you to effectively communicate and deliver successful websites that achieve business goals. Key aspects include planning requirements, testing and iteration, optimizing UX, and collaborating across teams. Avoid common mistakes like neglecting mobile experience.
1. Project Definition
The project definition phase is all about understanding the goals, target audience, and core problems that the website needs to solve.
This involves information gathering from key stakeholders through meetings, interviews, and other research.
The key goals of the project definition step include:
- Stakeholder meetings to align on goals and requirements
- Defining the target audience and their needs
- Understanding high-level business goals and problems to be solved
- Mapping the value proposition and purpose of the website
- Competitive analysis
This phase focuses on asking the right questions to get a clear sense of project direction and objectives.
Some important questions to explore:
- Who is the target audience? What are their pain points?
- What are the primary goals of the site – sell products? Provide information?
- How will the site differentiate from competitors?
- What is the core message or value proposition?
- What specific goals or metrics should the website achieve?
Thorough project definition reduces the risk of misalignment and confusion down the road. Set your team up for success by taking the time upfront to understand purpose, problems, and intended outcomes.
2. Scope Definition
With a clear understanding of project goals and target audience needs from the previous step, the next task is defining the scope and key deliverables.
The scope definition phase involves:
- Documenting the key features, assets, and pages to be delivered
- Establishing a realistic timeline aligned to deliverables
- Gaining agreement on budget
- Signing contracts or agreements on scope of work
Defining the scope upfront is crucial to prevent mismatched expectations and “scope creep” later in a project. Detail exactly what will be delivered, by when, and for how much.
Create a shared understanding of responsibilities between client and agency. Document the scope and get signoff from all stakeholders.
Tools like Gantt charts, sprints, or agile frameworks can provide further structure. But the key is having concrete scope documentation that all parties agree to.
Handle additional requests in a change management process after launch, not mid-stream. This discipline is essential for delivering on time, on budget, and without unnecessary stress.
3. Content Creation
With the project scope locked down, next comes content creation and information architecture planning.
The goals of this step include:
- Auditing existing content if it’s a redesign project
- Writing new content/copy
- Structuring content with user needs in mind
- Prioritizing content importance
- Developing sitemaps and content hierarchies
Many teams wait until the end of design to plug in copy. But content should inform the design process from the start.
Draft priority content upfront, even if just outline form. This allows designing around real structured content vs. filler text.
Work with stakeholders to audit and create usable, goal-oriented content. Understand how content and design intersect to create the optimal user experience.
4. Planning
In the planning phase, take stock of all the information gathered so far in order to map out a project plan and strategy.
Key planning tasks:
- Setting communication plans and schedules
- Prioritizing features and functionality
- Selecting technology/software needs
- Resource planning for images, videos, fonts, etc
- Creating user personas and scenarios
- Information architecture and site mapping
- Determining page templates and layouts
- Defining technical requirements
Planning is about analyzing project requirements and data to chart an efficient course for the design and development process.
Set your team up for success in later phases by investing the time to plan thoroughly. Have a clear blueprint and all necessary resources ready to go.
5. Wireframing and Architecture
With research and planning done, it’s time to start designing the framework and structure of the site.
Key steps in the wireframing and architecture phase:
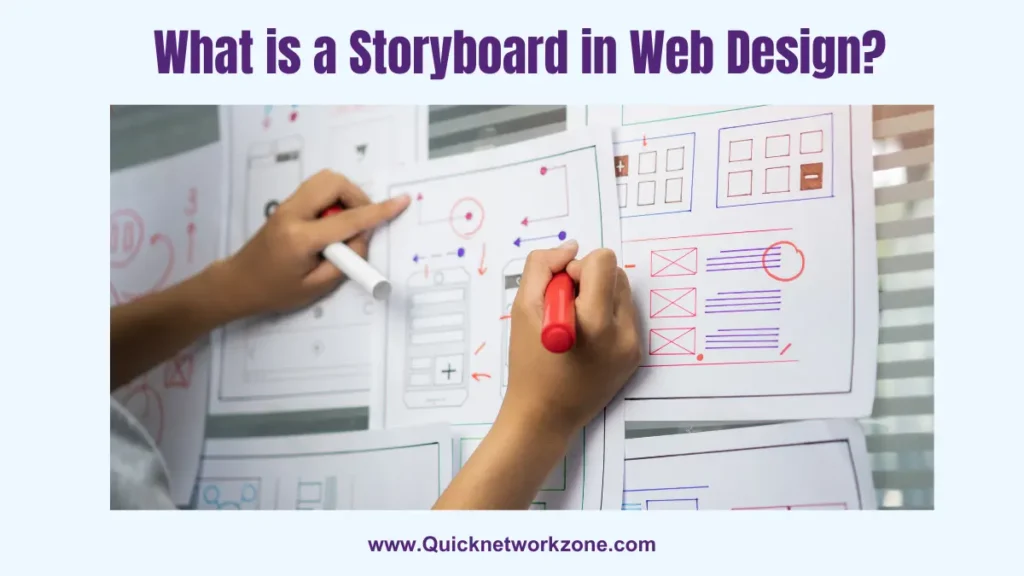
- Sketching initial design concepts
- Creating low-fidelity wireframes
- Refining information architecture and content mapping
- Developing user scenarios and flows
- Testing concepts with end users
- Iterating based on feedback
The goal here is to focus on site structure, priority content, and intuitive user pathways – without getting distracted by visual design just yet.
Use low-fidelity wireframes, sitemaps, and user flows to craft a seamless user journey. Identify pain points and refine navigation by testing concepts with actual users early on.
These foundations ensure a smart, functional website backbone before bringing the visual design to life.
6. Visual Design
With user flows and IA locked down, the next phase focuses on bringing the visual design to life.
Key visual design tasks include:
- Establishing the visual style direction and branding
- Typography selection and usage principles
- Color palette creation
- Graphic elements, iconography, and image style
- Buttons, widgets, inputs, and interactive elements
- Animation and micro-interactions
- Responsive layouts
- Style guides and pattern libraries
- High-fidelity prototypes
This is where strategy meets creativity. Translate brand identity and user needs into an intuitive, consistent, and aesthetically-pleasing visual interface.
Collaborate with developers to ensure designs are technically feasible while staying focused on usability and problem-solving.
Use style guides, pattern libraries, and interactive prototypes to align on look, feel, and functionality.
7. Development
With detailed prototypes and specs in hand, developers start coding the site into a real working product.
During development:
- Developers collaborate with designers to implement the vision
- Designers and developers iterate on solutions together
- Changes and new requirements are carefully managed
- Team continues usability testing and improvements
Communication and collaboration are critical here. Keep designers and developers synced to build the product efficiently with no big surprises on either side.
Control scope by managing new feature requests and changes through proper approval channels. Stay focused on delivering the agreed upon solution on time and budget.
8. Testing and Improvement
As the site takes shape, it’s time for comprehensive testing before launch.
Key site testing and improvement tasks:
- Thoroughly test site on development and staging environments
- Check all pages and functionality on multiple browsers/devices
- Set up analytics and monitoring for post-launch
- Conduct usability testing with target users
- Solicit internal stakeholder feedback
- Fix bugs and refine designs based on test results
- Optimize technical SEO elements
- Confirm launch readiness against goals
Don’t leave testing as an afterthought. Build in time and resources to methodically verify site quality and performance pre-launch.
Testing is another opportunity to gather feedback and incrementally improve the product before release. Keep iterating until satisfied with results.
Investing in robust testing now prevents painful issues down the road.
9. Launch
Once thoroughly tested and approved, it’s time for the big launch!
To ensure a smooth launch:
- Confirm launch date aligned with team and stakeholders
- Brief customer service/support on rollout
- Create communications plans and assets
- Load all approved final content onto live site
- Monitor closely for any issues after launch
- Have a rollback contingency plan just in case
Don’t let late-stage change requests delay your well-planned launch. Hold the agreed scope and timeline, while managing new ideas in a structured way.
Sync with all stakeholders on launch timing and needed support. Plan communications to promote the release.
Stay vigilant post-launch to address any unforeseen issues quickly and professionally.
10. Post-Launch
The work doesn’t end once the site goes live. Post-launch maintenance and optimization are key to long-term success.
Post-launch responsibilities include:
- Fixing bugs and technical issues
- Adding new features and content
- Monitoring site analytics and performance
- Ongoing A/B testing and improvement
- Checking broken links and errors
- Updating software as needed
- Responding to user feedback
- Optimizing site speed and SEO
Track performance against goals and investigate any shortfalls. Continue improving and evolving the product over time to meet user needs.
Keep an eye out for new best practices and technologies that could further enhance effectiveness.
Quick Summary of Web Design Steps
| Phase | Goals | Best Practices |
|---|---|---|
| 1. Project Definition | Understand goals, target users, problems to solve | Stakeholder alignment, competitive research |
| 2. Scope Definition | Define deliverables, timeline, budget | Concrete documentation, change management |
| 3. Content Creation | Audit/create content, structure information | Draft priority content early |
| 4. Planning | Analyze requirements, map project plan | Prioritize features, get organized |
| 5. Wireframing and Architecture | Design site structure and flows | Focus on user needs over visuals initially |
| 6. Visual Design | Refine aesthetics, brand alignment | Collaborate with developers on visual solutions |
| 7. Development | Build functional, interactive product | Close designer-developer collaboration |
| 8. Testing | Comprehensive QA across platforms | Iteratively improve based on test results |
| 9. Launch | Release on time with contingency plan | Manage last-minute change requests |
| 10. Post-Launch | Monitor performance, optimize over time | Continue iterating based on analytics |
Pro Tip: Have a post-launch roadmap planned ahead of time to continually guide progress and investment.
Key Takeaways and Next Steps
An organized web design process is crucial for delivering polished, functional websites on time and budget. This 10-step approach covers all essential phases from initial strategy to post-release optimization.
Here are some key takeaways:
- Invest time upfront in discovery, planning, testing – don’t rush into design
- Lock down scope with clear deliverables, budget, timeline
- Design the structure and flows before visuals
- Plan extensively and collaborate closely with developers
- Leave room before launch for comprehensive QA testing
- Measure performance against goals post-launch and keep improving
Of course, adapt this framework to your team’s specific needs and dynamics. The core principles of understanding user needs, planning thoroughly, and collaborating closely apply to almost any web project.
Now it’s time to try these best practices on your next website redesign or new project. Let us know if we can help bring this streamlined process to your team – we have experience optimizing workflows to maximize quality and efficiency.
Just reach out to discuss your goals and how we can partner to bring your digital products to life using proven approaches that get results. We look forward to hearing from you!
Conclusion
A streamlined web design process is invaluable for transforming ideas into successful online products efficiently. By following these 10 key phases, you gain necessary structure to move from initial problem to tested solution.
Of course, adapt the process to suit your team and project needs. The core principles remain constant – invest in upfront planning, maintain laser focus on goals, collaborate closely across roles, and keep improving after launch.
With the right process in place, your team is set up to deliver outstanding results by balancing creativity, problem-solving, and project rigor. Use these steps and lessons learned to keep honing and optimizing your own design workflows.
The finished website is just the beginning. By monitoring performance post-launch and iterating, you can provide even more value to users over time. See every project as an opportunity to improve – results compound when you never stop learning and refining.
Frequently Asked Questions
Do we need to follow these steps linearly or can they be iterative?
The process is flexible – steps can certainly overlap and repeat as needed. The key is covering all phases in some form but adapt to your team style.
What if scope or timeline needs to change mid-project?
Maintain discipline on original scope but have a change management process to handle new requests. This avoids delays and confusion down the line.
How much time should we spend on upfront planning and research?
As much as possible! This investment pays off exponentially later by preventing miscues and rework. Don’t rush into design until goals and requirements are crystal clear.
Who needs to be involved in each phase?
Get input from all key roles – strategy, design, content, development. Collaboration across disciplines leads to better solutions.
How do we balance new ideas and feedback with original scope?
Gather feedback frequently but funnel new requests through proper approval channels. Don’t derail timelines and budgets with scope creep.


![Responsive Web Design: Best Practices and Considerations [3 Examples Included] Responsive Design: Best Practices and Considerations](https://quicknetworkzone.com/wp-content/uploads/2023/11/2-1024x576.webp)
